Rusty McCommas • August 28, 2026
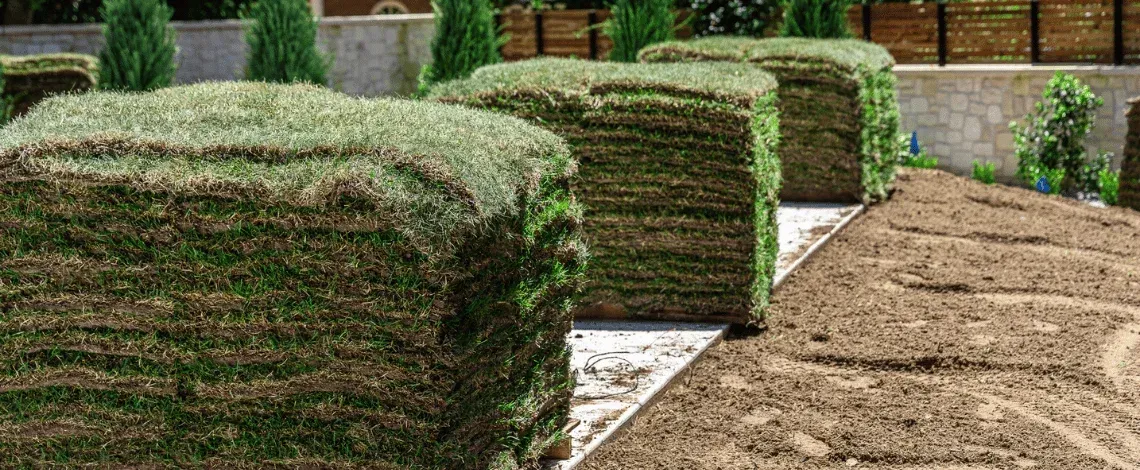
New sod installation in North Texas can give your property a fresh, green lawn quickly, but the first 90 days determine whether it establishes strong roots or struggles to survive. Proper soil preparation, fast installation, and a consistent watering plan all matter, especially with Denton County clay soil and unpredictable Texas weather. Whether you are planning sod installation in Argyle TX or caring for a new lawn installation in Flower Mound TX, this guide explains what your sod needs from day one.
1. Start With Proper Site Preparation
Healthy sod needs direct contact with clean, level soil so its roots can grow into the ground below. Installing sod over old grass, weeds, debris, or uneven soil can lead to poor rooting, gaps, and soft spots later. Before laying sod North Texas homeowners should make sure the area is fully prepared for a smooth installation.
- Remove old grass, weeds, roots, rocks, and construction debris.
- Grade the soil to create a level surface that drains away from the home.
- Firm the soil enough to prevent sinking while keeping it loose enough for roots to establish.
- Check sprinkler coverage before sod is delivered so every section can be watered.
- Add quality topsoil or soil amendments when the existing soil is compacted or low in nutrients.
2. Choose The Right Time To Install Sod In North Texas
Sod can be installed during much of the year in North Texas when the site is prepared correctly and irrigation is available. Spring and early fall are usually easier because temperatures are milder and new sod loses less moisture while it establishes. Summer installations can still work, but they require faster watering and closer attention during hot, dry weather.
For sod installation Denton County homeowners should plan around the forecast whenever possible. Avoid scheduling installation during extreme heat, freezing temperatures, or long periods without reliable irrigation. Fresh sod is perishable, so it should be installed as soon as possible after delivery rather than sitting in direct Texas sun.
3. Install Fresh Sod Quickly And Correctly
Once sod arrives, the installation process needs to move quickly. Fresh-cut sod can dry out fast, which makes early watering and proper placement especially important. The goal is to create tight seams, remove air pockets, and help the roots make immediate contact with the prepared soil.
- Start laying sod along a straight edge, such as a driveway, fence line, or patio.
- Stagger each row in a brick-like pattern so the seams do not line up.
- Press pieces tightly together without stretching or overlapping them.
- Cut around sprinkler heads, beds, walkways, and other hard surfaces carefully.
- Water the sod immediately after installation.
- Roll the sod after watering to improve root-to-soil contact and reduce air gaps.
4. Water New Sod The Right Way During The First Two Weeks
The first two weeks are the most important part of new sod care North Texas homeowners need to follow. The sod and soil beneath it must stay consistently moist while the roots begin growing into the ground. Letting new sod dry out during this stage can cause brown edges, shrinking seams, and weak root development.
- Water immediately after installation for about 40 to 60 minutes per area.
- Water once in the morning and again later in the day during hot or windy weather.
- Make sure moisture reaches below the sod and into the top few inches of soil.
- Avoid watering so heavily that puddles form or sod begins to float.
- Stay off the lawn as much as possible while roots are still establishing.
5. Adjust Your New Sod Watering Schedule During Weeks Three And Four
By weeks three and four, the sod should begin rooting into the soil below. You can test this by gently lifting a corner of a piece of sod to see whether it resists pulling up. Once the roots are holding, reduce watering frequency so the grass starts reaching deeper for moisture.
Water three to four times per week, depending on rainfall, temperatures, soil conditions, and how quickly the lawn dries out. Each watering should be long enough to soak the root zone rather than only wetting the surface. This transition is an important part of how to care for new sod Texas homeowners often overlook after the first couple of weeks.
6. Mow Carefully Once The Sod Has Rooted
Do not mow new sod until it has rooted firmly into the soil and the grass blades have reached the proper height. Mowing too soon can pull up loose pieces, stress the grass, and leave uneven sections behind. A sharp mower blade and the right cutting height will help your lawn stay clean and healthy as it establishes.
- Perform the pull test before mowing to confirm the sod is rooted.
- Mow when the grass reaches about 3 to 4 inches tall.
- Never remove more than one-third of the grass blade at one time.
- Keep mower blades sharp to avoid tearing tender grass.
- Avoid mowing when the sod is saturated from rain or irrigation.
7. Build Strong Roots From Day 30 Through Day 90
After the first month, your sod should begin transitioning from frequent watering to a deeper and less frequent schedule. This stage helps the roots grow farther into the soil, which makes the lawn more resilient during dry weather. Consistent care during this period is especially important for sod care Northlake TX properties with heavy clay soil or full afternoon sun.
Water deeply about once or twice per week as needed, with adjustments for rain and heat. A starter fertilizer may be applied around weeks four through six when appropriate for the sod type and installation conditions. Wait at least 60 to 90 days before using herbicides or strong chemical treatments so the turf has time to fully establish.
Watch For Signs Your New Sod Needs Attention
New sod can show stress quickly when watering, drainage, or installation conditions are not right. Catching problems early gives you a better chance to correct them before larger areas decline. Check your lawn regularly during the first 90 days, especially after periods of extreme heat or heavy rain.
- Brown or gray grass blades can mean the sod is drying out.
- Seams that separate may point to insufficient watering or poor soil contact.
- Soft, soggy areas may mean the lawn is being overwatered.
- Yellowing can be linked to poor drainage, nutrient needs, or stressed roots.
- Sod that lifts easily may not be receiving enough consistent moisture.
Get Professional Sod Installation From A Team That Knows North Texas Lawns
At Evergreen Lawn & Landscape, we provide professional sod installation services designed for North Texas properties. We remove old grass and weeds, prepare and grade the area, add nutrient-rich topsoil, install your new sod, roll it for strong soil contact, and check irrigation coverage before the project is complete. We install Bermudagrass, St. Augustine, Palisades Zoysia, and Emerald Zoysia, and we can also help support your lawn with fertilization and weed control services after installation.
Give Your New Sod The Best Start Possible
New sod can give your property a fresh, healthy look, but the first 90 days are critical for strong roots. From site preparation and installation to watering and mowing, we handle each stage with care. For sod installation Argyle TX homeowners can rely on, we can prepare the area and install your new lawn the right way. Contact us today to schedule your new sod installation.
Recent Posts